
Your first connection
1. Open Nembrix
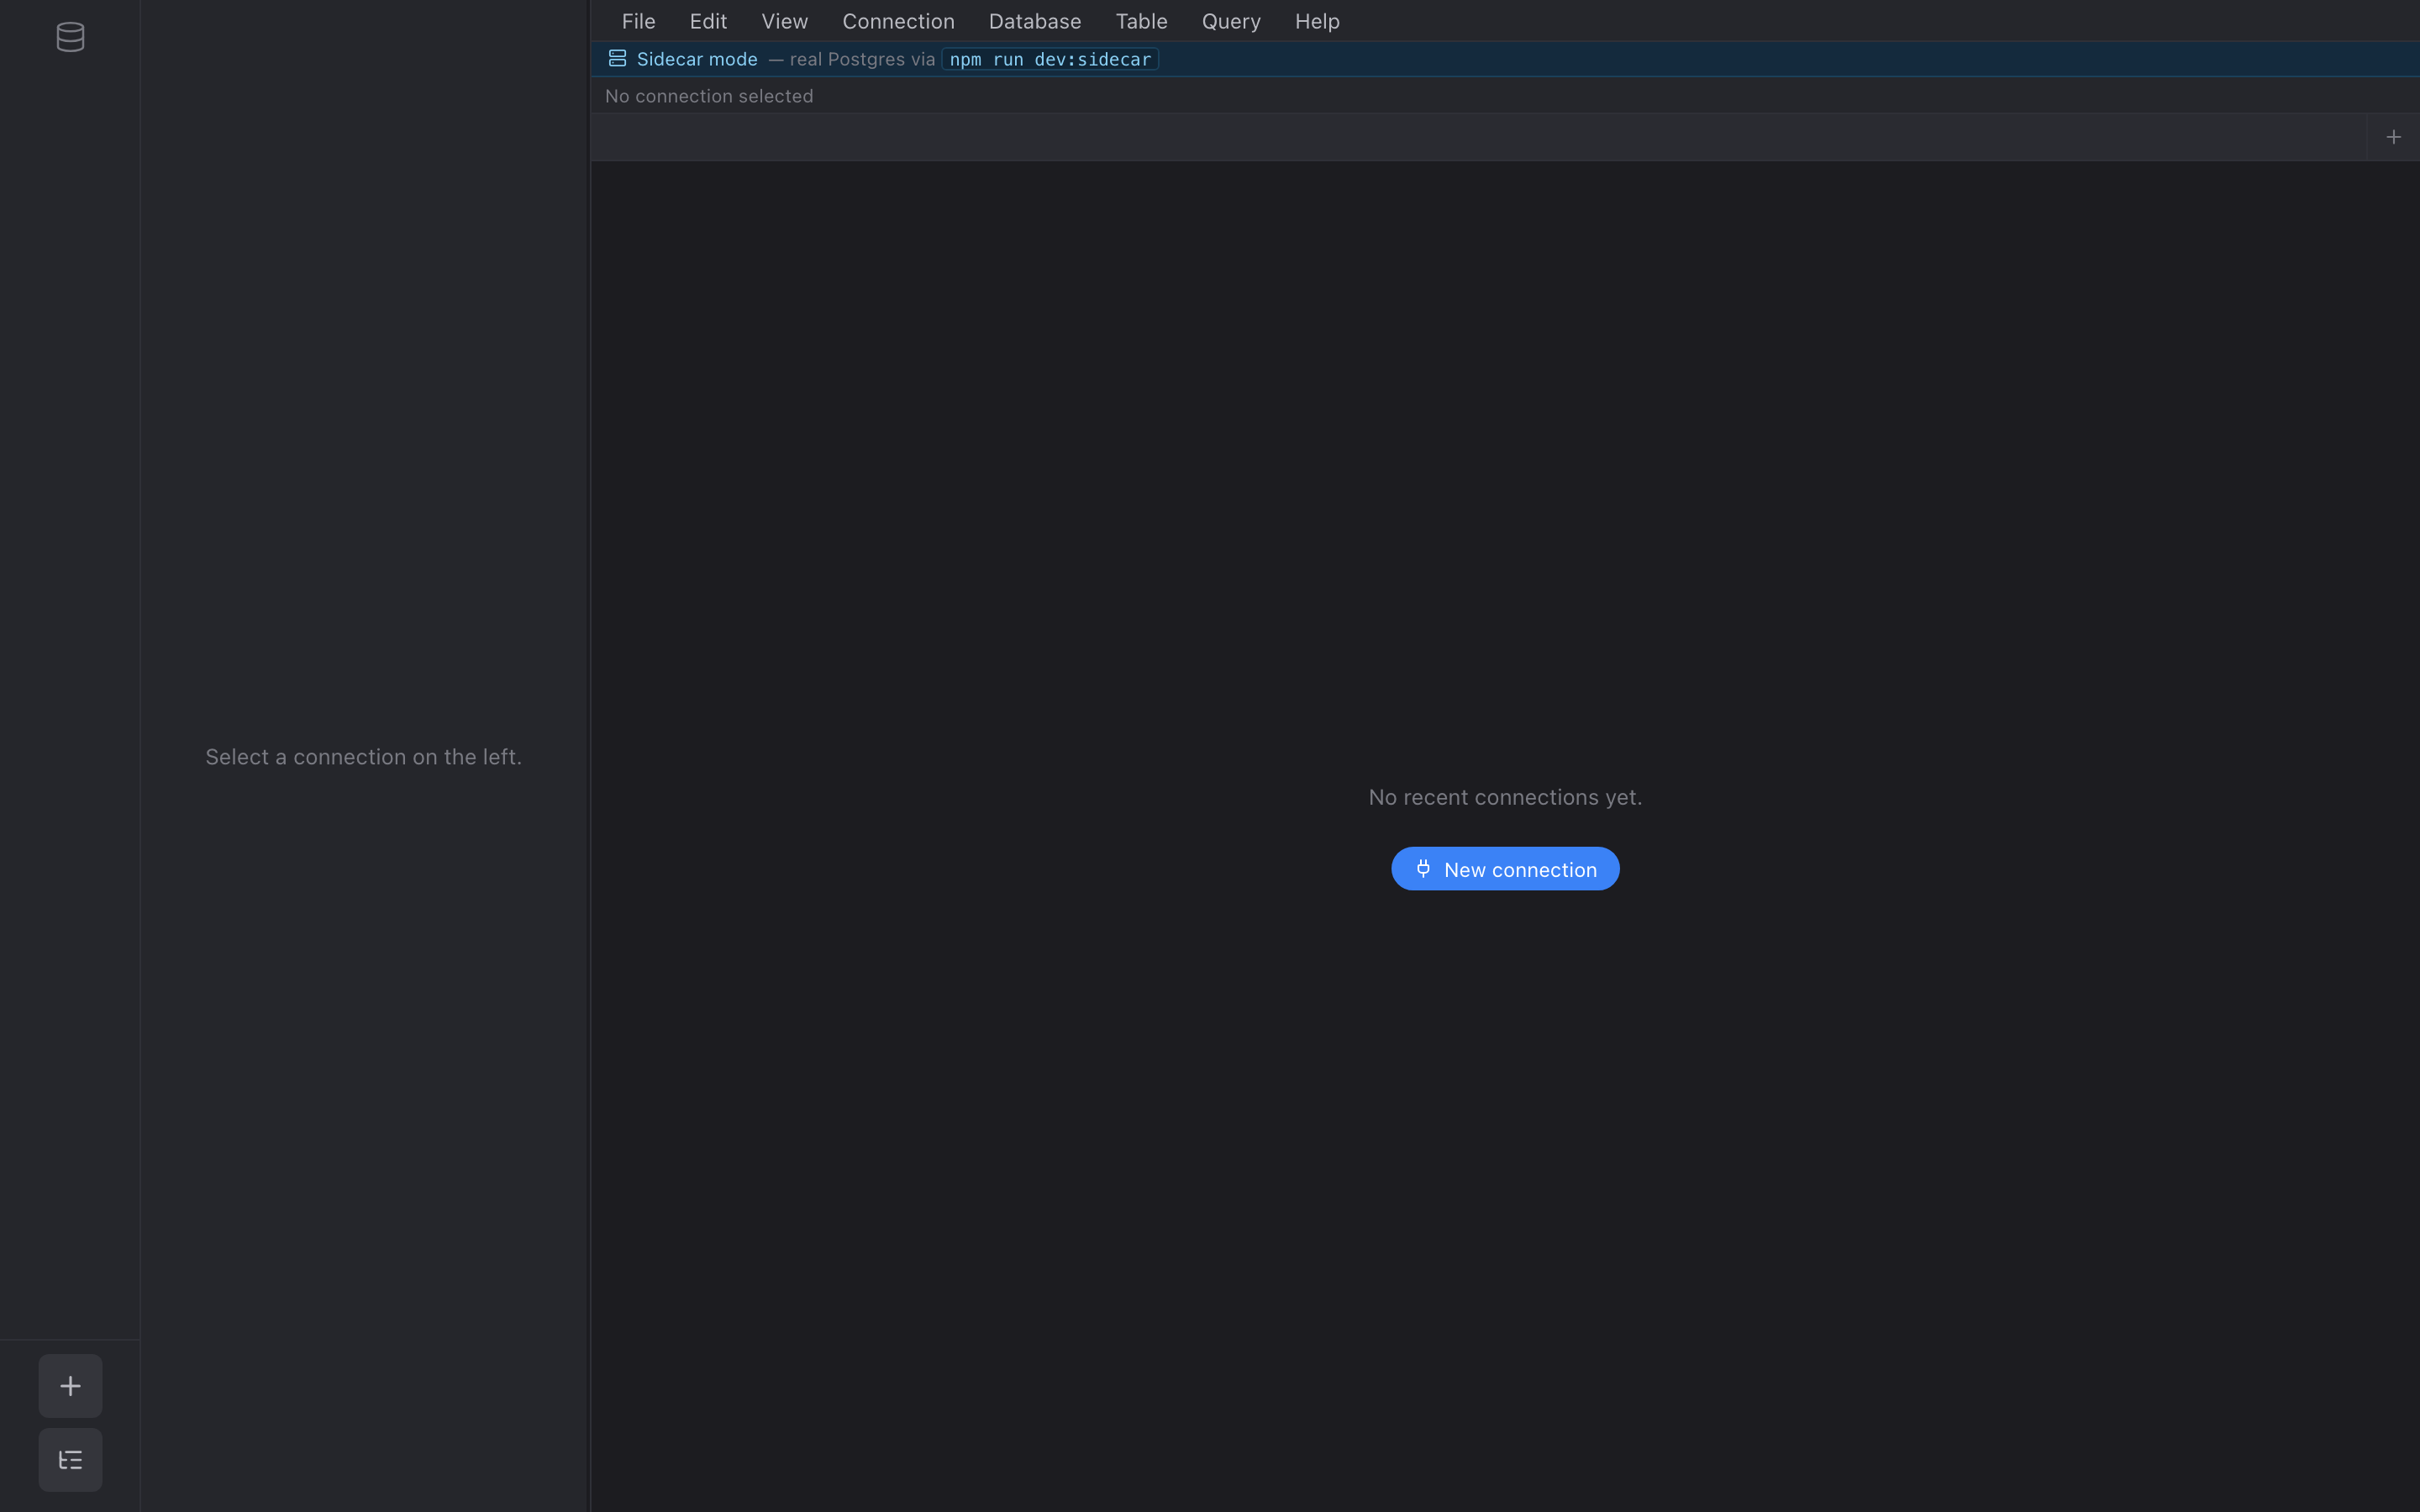
Section titled “1. Open Nembrix”The first thing you’ll see is an empty rail (the column of connection avatars on the left) and a landing pane that says No recent connections yet.
2. Save a connection
Section titled “2. Save a connection”Click New connection in the landing pane (or press ⌘N).
The connection form is a single dialog with three sections:
- General — name, host, port, user, password, database, SSL mode.
- Group — optional. Use it to bucket related connections (e.g. “Acme prod”, “Team Foo”).
- Environment — Production / Staging / Development / Test / Other.
This drives the avatar tint and the destructive-query confirmation
flow. Production gets a bright red ring; the editor will refuse to
DROP TABLEon it without you typing the connection name first. - SSH tunnel — optional, covered in SSH.
Click Test connection to verify before saving, or Save & connect to do it in one shot.
3. Pick a table
Section titled “3. Pick a table”Once you’re connected, the inspector on the right shows the schema tree. Click any table to open it in a tab.
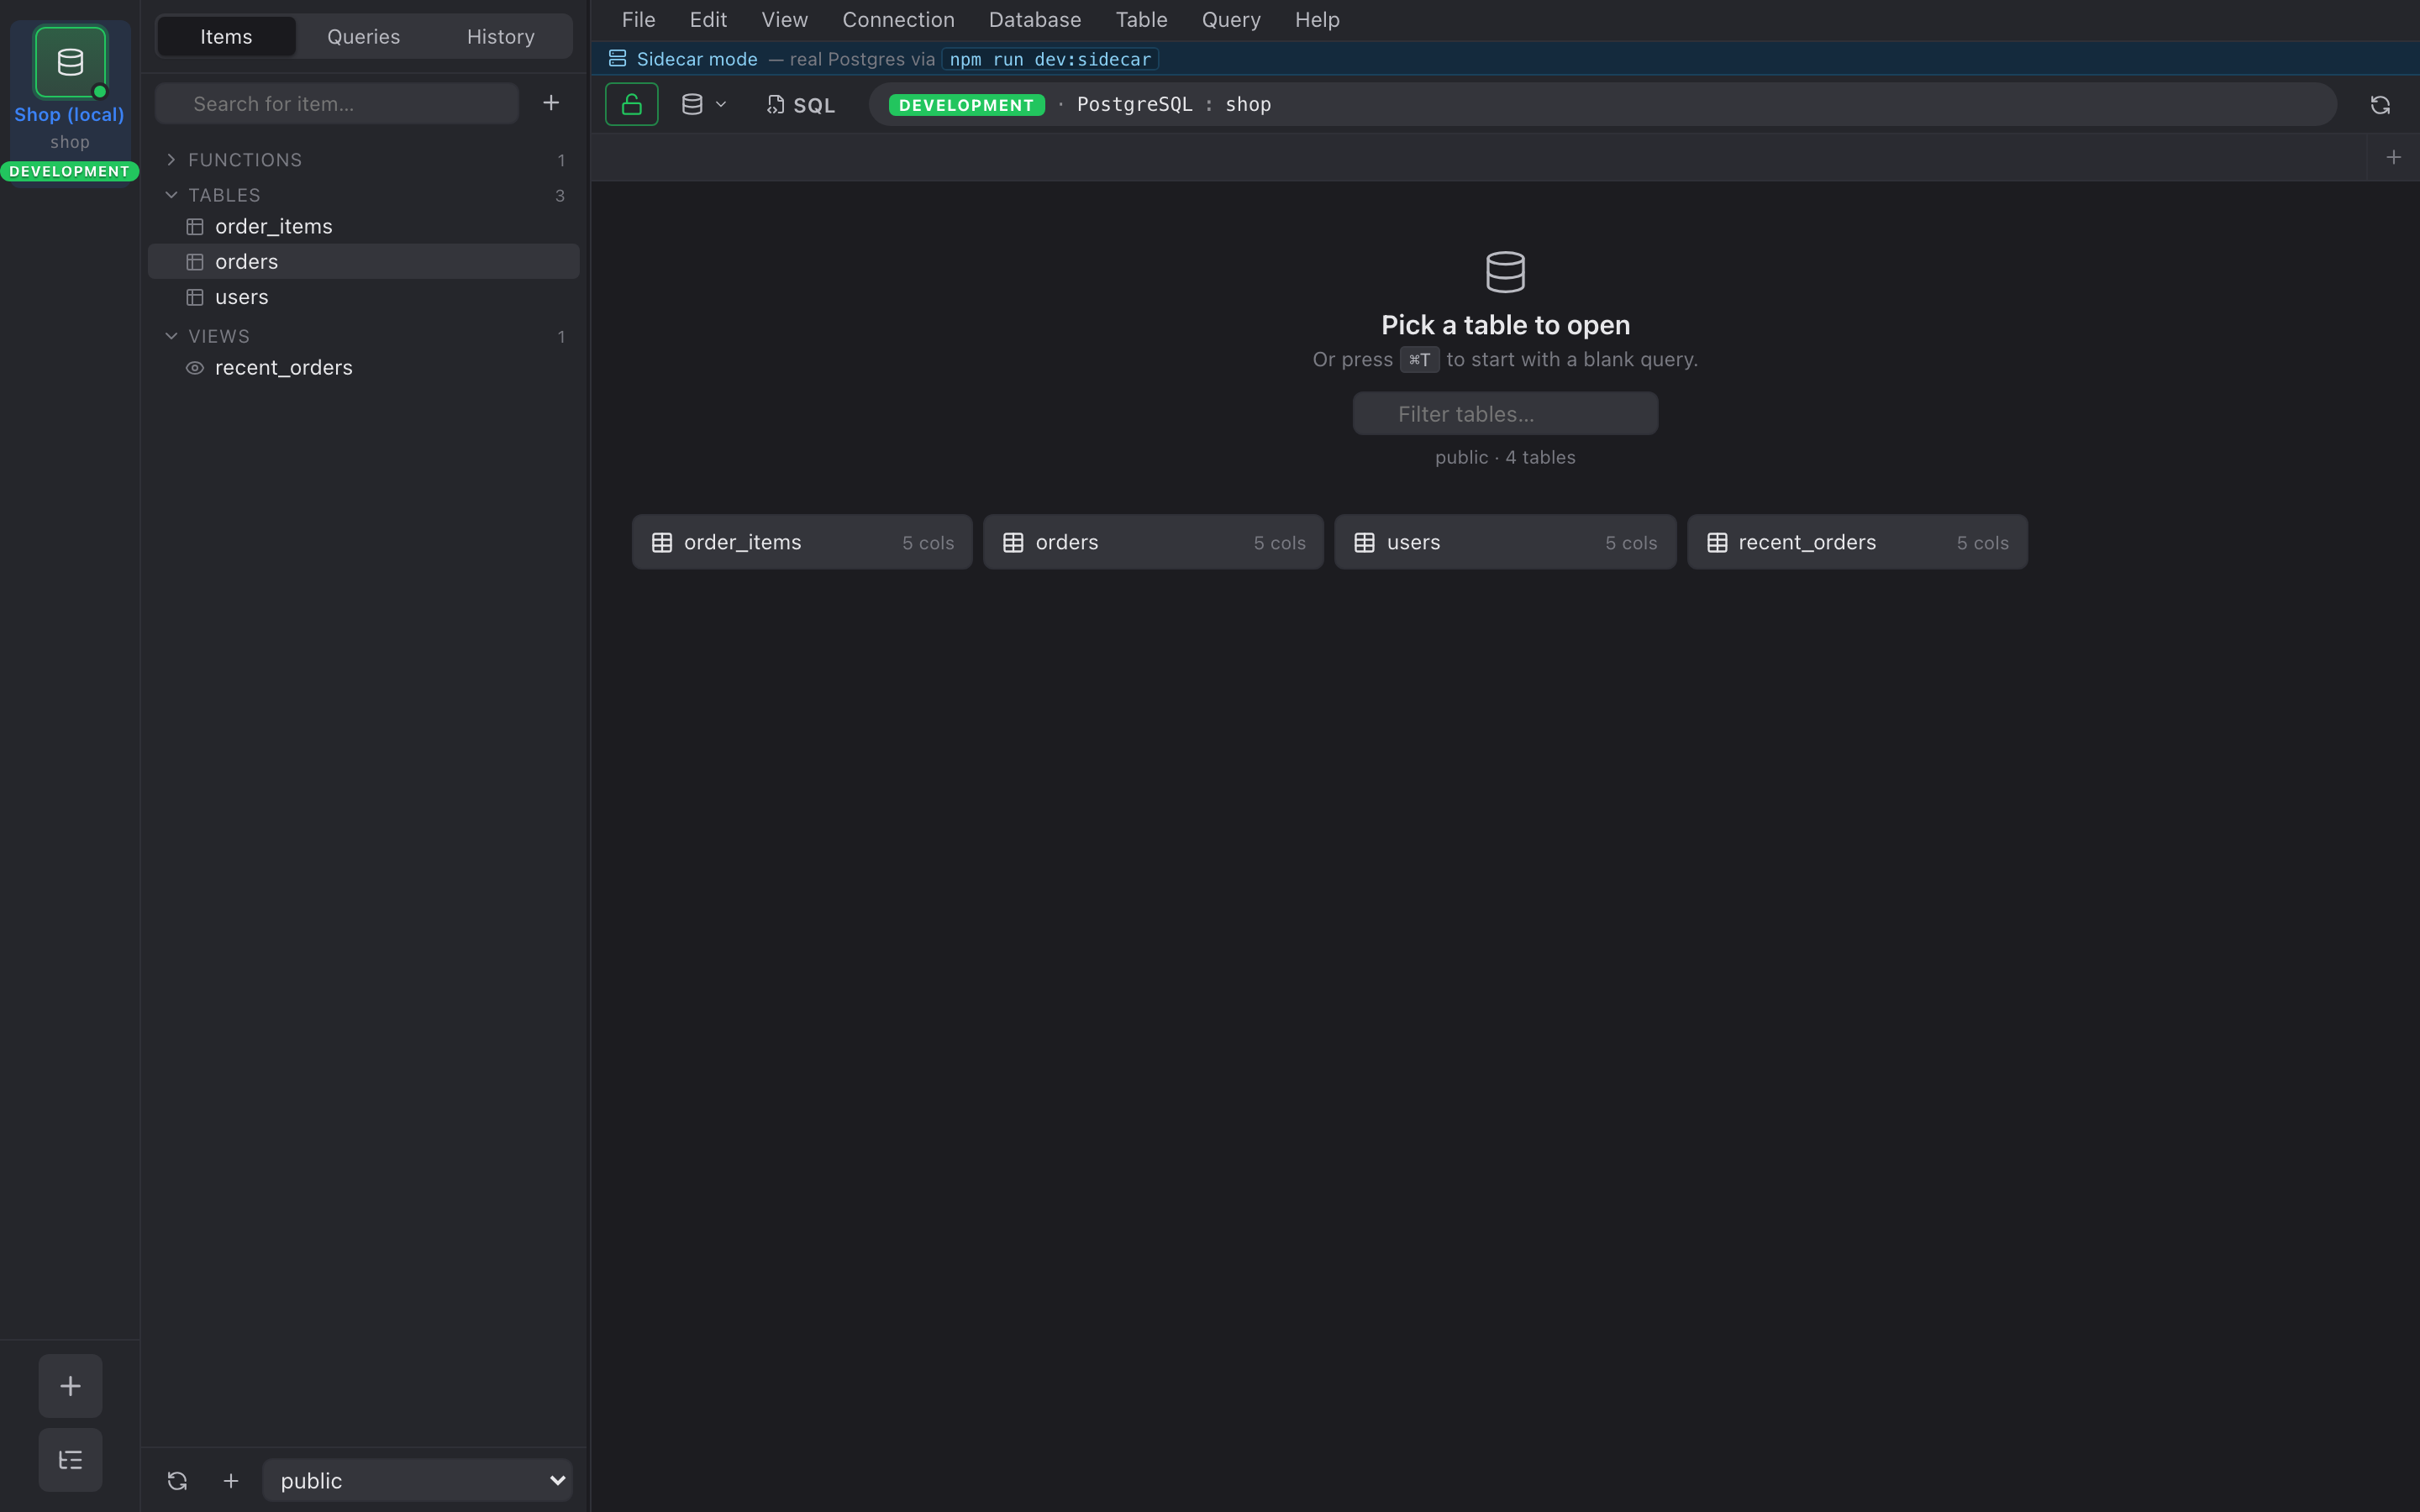
By default each tab loads the first 200 rows. Bump it with the Limit dropdown above the grid.
4. Filter
Section titled “4. Filter”Click + Add filter below the toolbar to start a filter chip. Each chip has a column, an operator (“=”, “contains”, “is null”, …), and a value. The chip’s checkbox toggles it on or off without deleting it.
5. Edit a cell
Section titled “5. Edit a cell”Double-click a cell to edit it. The cell turns yellow to signal “pending edit” — and a banner at the top of the grid tracks how many edits you have queued.
Press ⌘S to commit them all in a single transaction. Postgres errors bubble up in a modal with a Retry button.
6. Save what you typed
Section titled “6. Save what you typed”The SQL editor’s tab title turns into an italic dot when there are unsaved keystrokes. ⌘S inside the editor saves the query under a name (saved queries live in the inspector’s Queries tab).